QuadRC with Arduino
A project to replace a broken toy quad controller with a selfbuilt rc enabled controller using arduino
Why?
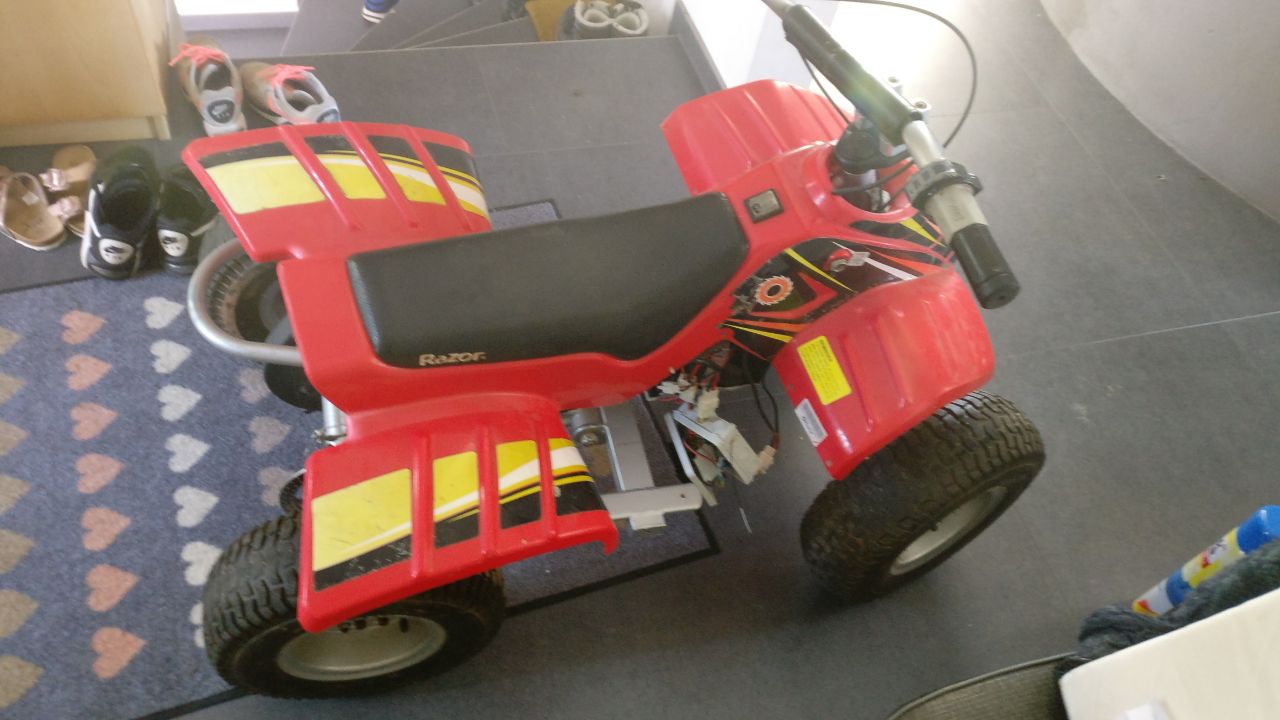
I was tasked to repair this quad. It wouden’t turn on and a replacement controller was expensive.
Then my dad had the glorius idea to add remote capabilities to the controller so that the quad woud disarm when getting out of range of the remote.
This was the initial idea.
But it was expanded so that via the remote it was possible to override the throttle and also drive backwards. To allow easier parking.
Step 1
Figuring out the old controller wasen’t hard. But it was also broken beyond repair due to water damage.

There were four connectors that i took of the old controller.
- Power
- Throttle
- Break
- Motor
Step 2
With the requierments in mind i bought these parts:
- Cheapest PWM RC controller i coud find.
- A Box
- A BTS7960B 43A DC Motor Driver
- An Arduino Pro Mini 5v
- And a voltage regulator
Step 3
Now i connected everything up according to these instructions.
- Regulator VCC to BATT 24V
- Regulator GND to BATT GND
- BTS7960B VCC to Regulator 5V
- BTS7960B GND to Regulator GND
- BTS7960B Bridge The Enable Pins
- BTS7960B Enable Pins to Arduino 3
- BTS7960B RPWM to Arduino 5
- BTS7960B LPWM to Arduino 6
- Reciver VCC to Regulator 5V
- Reciver GND to Regulator GND
- Reciver CH1 to Arduino 8
- Reciver CH2 to Arduino 7
- Reciver CH3 to Arduino 9
- Arduino VCC to Regulator 5V
- Arduino GND to Regulator GND
- Throttle Yellow to BATT 24V
- Throttle RED to Regulator 5V
- Throttle BLACK to Regulator GND
- Throttle GREEN to Arduino A0
- Break Wire1 to Arduino A1
- Break Wire2 to Regulator 5V
And put it inside a box.


Step 4
Next up is programming. This is done in PlatformIO an alternative for the Arduino IDE. You can find my complete source code here.
Function Description
The program reads CH1, CH2, CH3 and Throttle. Then it performes a range check (The cheap RC remote likes to go over 2000) and if nessesary sets the value to min/max. Now it avrages the reciver values with the last 10 values to filter out spikes (again cheap RC remote). Next it reads the break and CH3 to decide weather to arm / disarm the motor. Finally if armed it lights up the arm LED and sets the motor to the desired speed. The desired speed is the throttle but this gets overwritten when CH1 isen’t idle.
Now you are done!
If you have questions please contact me here